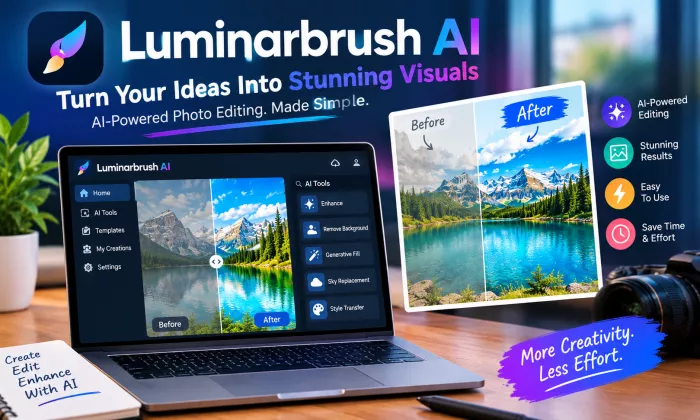
When you first open Luminarbrush.ai, it does not feel like a complete editing suite. There are no overwhelming panels, no deep menus, and no attempt to compete with traditional tools.
Instead, everything points toward one very specific idea. Lighting.
Not brightness or exposure sliders, but actual light placement. The kind you would normally need studio setups or complex masking to achieve.
The moment you upload an image and start interacting with it, you realise this tool is not trying to do everything. It is trying to solve one narrow problem in a different way.
That focus shapes both its strengths and its limitations.
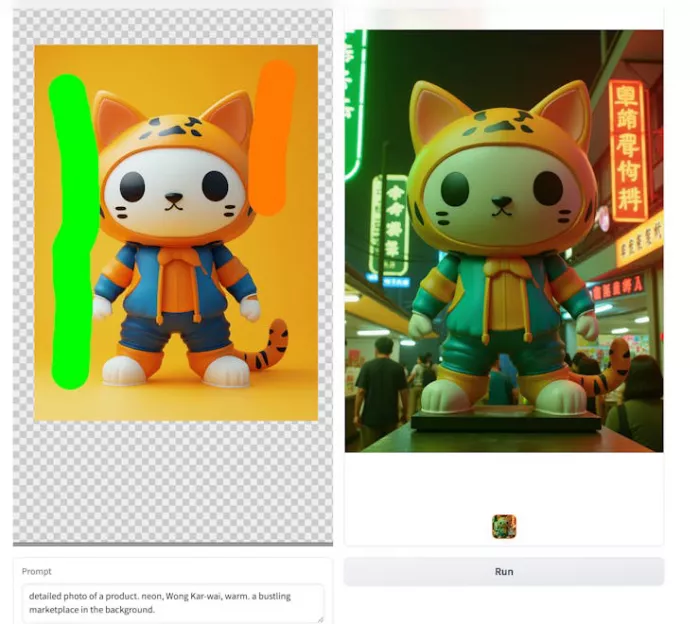
Luminarbrush.ai runs on a two-stage system, but you do not need to understand the technical side to notice its effect.
The first step flattens the lighting in your image. It removes strong shadows and creates a more neutral base.
At first, this feels slightly odd. Your original image can lose some depth.
Then comes the second step. This is where you reintroduce light.
You either describe it with a prompt or paint it using a brush. This is where the tool becomes interesting.
Instead of adjusting sliders, you are placing light into the scene.
The brush system is the core of the experience.
It does not behave like a typical Photoshop brush. It feels closer to painting light onto a surface.
You can:
The effect is subtle when used carefully. Push it too far, and it starts to look artificial.
There is a learning curve here, but it is not technical. It is more about restraint.
On portraits, the tool tends to perform well.
Skin texture is usually preserved. Light wraps around the face in a believable way. Highlights feel soft rather than harsh.
It works best when you are making small corrections rather than dramatic changes.
One pattern becomes clear quickly.
AI-generated images often look flat. Luminarbrush.ai adds depth to them in a way that feels consistent.
This is where the tool feels most useful. It fixes something that other tools struggle with.
If you are working on concept art or rough visual ideas, this tool speeds things up.
Instead of setting up multiple light sources manually, you can test different lighting directions in seconds.
It is not perfect, but it is fast enough to explore ideas.
That first step where lighting is neutralized can sometimes remove useful detail.
In product photography or carefully lit images, this can feel like a step backward.
You end up rebuilding something that was already working.
Single light sources work well.
Multiple light sources can become inconsistent. Shadows may not align perfectly. Some areas may look over-processed.
It is not a deal breaker, but it limits how far you can push the tool.
Low-quality images, noisy files, or poorly exposed photos do not respond well.
The system depends on clean input. Without that, results become unpredictable.
Luminarbrush.ai is not just a web tool. It comes from an open-source project developed by lllyasviel, the same developer behind ControlNet.
That matters.
It helps to think of Luminarbrush.ai as a specialist rather than a competitor.
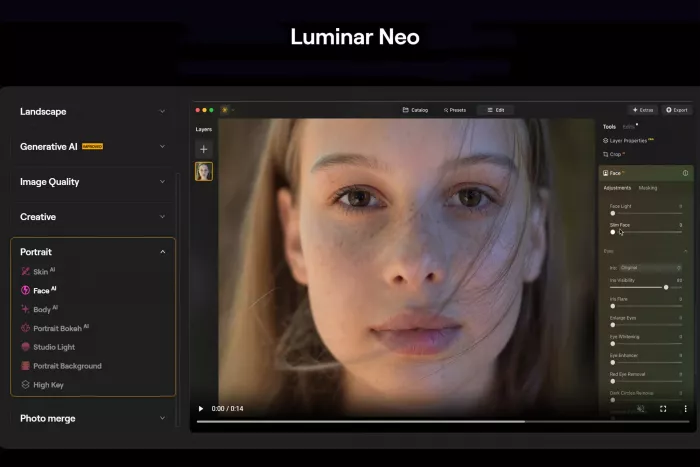
Traditional tools like Luminar Neo or Lightroom handle full workflows. They manage exposure, color, and composition.
Luminarbrush.ai focuses only on light placement.
Compared to something like IC-Light, it gives more control through the brush system.
Compared to mobile editors or filter-based apps, it is far more deliberate and less automated.
But it does not replace any of them. It fits somewhere in between.
After using it for a while, a pattern emerges.
It works best as a middle step.
You generate or capture an image. Then you use Luminarbrush.ai to adjust lighting. After that, you move back into your main editor for finishing touches.
It is not the starting point and not the final step.
It is a tool you reach for when lighting feels slightly off but you do not want to rebuild the entire image manually.
Luminarbrush.ai is easy to misunderstand if you expect it to behave like a complete editor.
It is not trying to replace anything. It is solving one problem in a different way.
When used carefully, it can add depth and direction to images that feel flat. When pushed too far, it starts to show its limitations.
The most practical way to use it is not as a primary tool, but as a focused adjustment layer in your process.
Once you approach it that way, it becomes easier to understand where it fits and where it does not.




PepHop AI is a web-based platform for interactive roleplay and dynamic...



Discussion